How to Make a Carbon Fiber Fender: DIY Guide for Amazing Results
The Problem with Regular Fenders
Do you hate heavy car parts? Metal fenders rust. Plastic fenders crack. Both add too much weight to your car. When you race or want better gas miles, every pound matters!
Cars with heavy parts:
- Go slower
- Use more gas
- Handle worse
- Look boring
Why This Matters So Much
Think about it! Your car could be so much better. Every time you drive, those heavy fenders slow you down. When it rains, metal fenders start to rust. When you hit something, plastic fenders break right away!
Look at what happens to regular fenders:
| Fender Type | Problems |
|---|---|
| Metal | Rusts, heavy, dents easily |
| Plastic | Cracks, looks cheap, breaks |
| Fiberglass | Heavy, chips, hard to fix |
Don’t you want something better? Something that makes your car stand out?
Carbon Fiber: The Perfect Solution
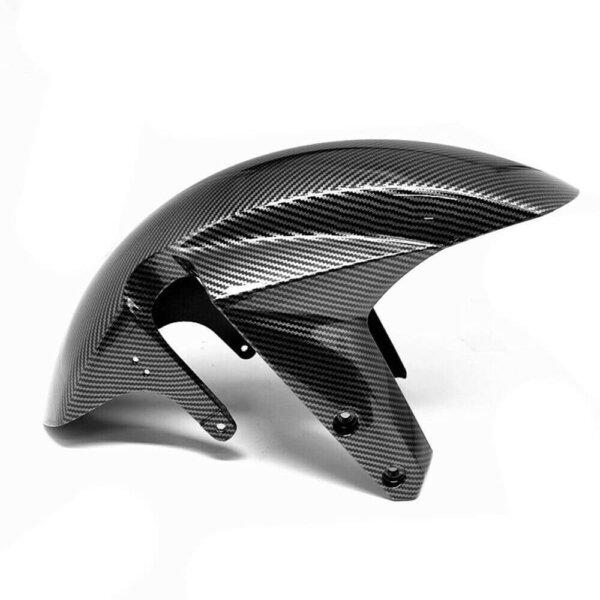
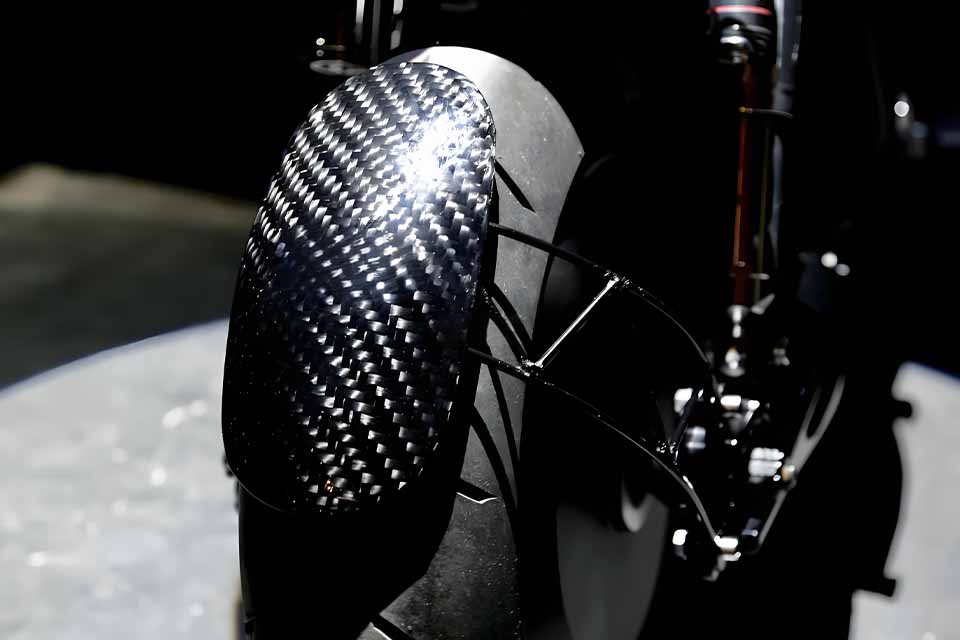
Good news! Carbon fiber fenders fix all these problems! They are super light, very strong, and look amazing!
As a top carbon fiber manufacturer, we help you make the best parts. We know all the tricks to get perfect results!
What You Need to Make Carbon Fiber Fenders
Get these things ready:
- Carbon fiber cloth
- Epoxy resin
- Release agent
- Mold material
- Mixing cups
- Gloves
- Scissors
- Vacuum bagging stuff (for best results)
Step 1: Make Your Mold
First, you need a good mold. This is very important!
Two Ways to Make a Mold:
- Use an old fender: Cover with release agent so carbon fiber won’t stick
- Make a new mold: Use cheap wood or foam, then cover with Bondo
Big tip! Use pine wood, not hard wood. Pine won’t scratch your mold!
Many pros use two gallons of Bondo to make their molds smooth. This helps get a perfect finish.
Step 2: Pick the Right Carbon Fiber
Did you know there are different types of carbon fiber? Pick the right one!
Best Carbon Fiber Types:
- 2×2 twill (looks best)
- Hexcel HiMax (very strong)
- 5 Harness Satin (smooth finish)
Our custom carbon fiber shop has all these types ready for you!
Step 3: Cut and Layer the Carbon Fiber
Now comes the fun part!
- Cut the carbon fiber cloth to fit your mold
- Mix the epoxy resin (follow the instructions on the bottle)
- Wet the carbon fiber with the resin
- Layer it on your mold – use 2-3 layers for best strength
Watch out! Don’t use too much resin or your part will be heavy.
Step 4: Vacuum Bagging for Perfect Results
Want a pro finish? Use vacuum bagging!
How it works:
- Put tacky tape around the edge of your mold
- Cover with vacuum bag film
- Seal all edges
- Use a pump to suck out all air
- The vacuum makes the carbon fiber press tight to the mold
This method is used by top shops like Throttle Stop Garage for their Volvo Amazon project. It gives a perfect finish!
Step 5: Let It Cure
Be patient! Good things take time.
Let your carbon fiber cure for:
- At least 24 hours at room temp
- 8 hours if you use heat (around 150°F)
Don’t rush! If you try to remove it too soon, you’ll ruin your part.
Step 6: Remove and Finish
When it’s fully cured, it’s time to get it out of the mold.
- Carefully break the resin bead around the edges
- Listen for “cracking” sounds – that means it’s coming loose!
- Sand any rough edges with fine sandpaper
- Polish for a glossy look
Real Results: What to Expect
Our customers see amazing results! Look at these real projects:
- 1967 Camaro got carbon fiber fenders after a crash at Pikes Peak – now it looks better than before!
- Volvo Amazon with custom carbon fenders got over 420,000 video views – people love how it looks!
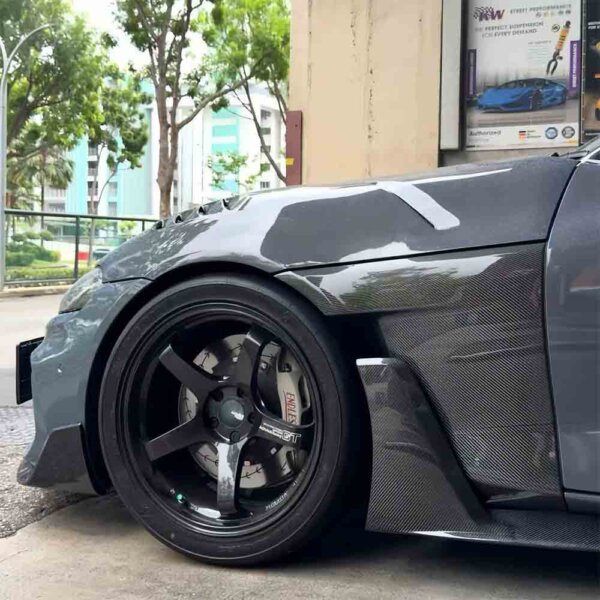
- Evo 9 with carbon-skinned fenders – a cheaper way to get the carbon look!
Time and Cost Breakdown
Be ready! Here’s what to expect:
| Project Type | Time Needed | Cost Range | Skill Level |
|---|---|---|---|
| DIY Full Custom | 3-7 days | $200-$500 | Advanced |
| Carbon Skinning | 1-2 days | $50-$150 | Intermediate |
| Install Pre-made | 7 hours | $500-$2,000 | Beginner |
Common Problems and How to Fix Them
Don’t worry if things go wrong! We have solutions:
Problem 1: Resin Pooling
When too much resin collects in one spot. Fix: Use vacuum bagging to spread it evenly.
Problem 2: Air Bubbles
Small air pockets ruin the look. Fix: Drill tiny holes where bubbles form so resin can flow in.
Problem 3: Hard to Remove
Fender stuck in the mold. Fix: Use more release agent next time. For now, try gentle tapping around th e edges.
Why Not Just Buy Pre-Made Fenders?
You could buy ready-made carbon fiber fenders. It takes about 7 hours to install them.
But! DIY fenders are:
- Exactly how you want them
- Often cheaper
- Give you bragging rights
- Can be custom fit to your car
Our carbon fiber car parts are perfect for those who want ready-made options too!
Carbon Fiber Beyond Fenders
Once you master fenders, try making:
- Hoods
- Spoilers
- Interior parts
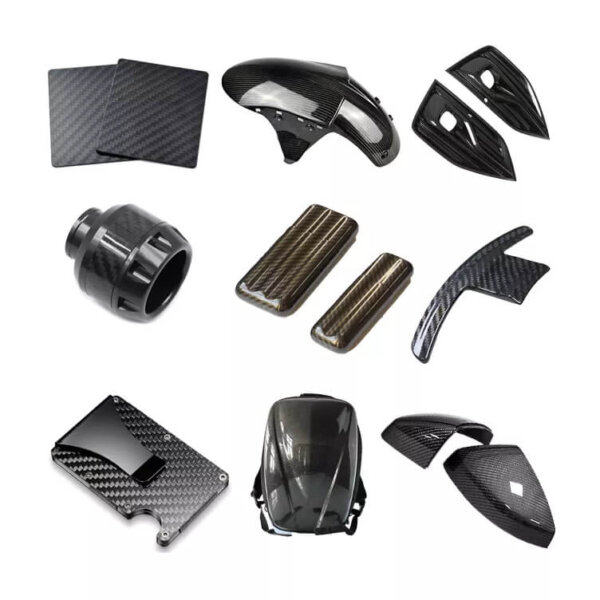
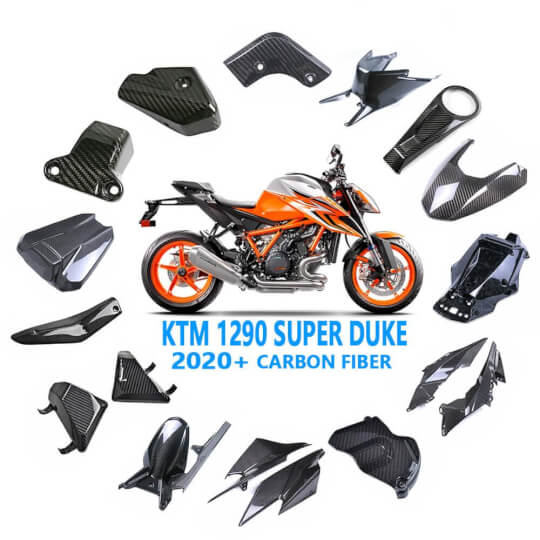
- Carbon fiber motorcycle parts
Why Choose Our Carbon Fiber Products
As a top manufacturer, we offer:
- OEM/ODM service – we make parts to your exact needs
- Custom designs – want something unique? We can do it!
- Top materials – we use only the best carbon fiber
- Expert advice – we help you get perfect results
Our carbon fiber reinforced plastic is the strongest in the industry!
Ready to Make Amazing Carbon Fiber Fenders?
Don’t let heavy, ugly fenders hold your car back! Carbon fiber is the answer to all your problems.
With our help, you can make fenders that:
- Look amazing
- Are super light
- Never rust
- Turn heads
- Make your car faster
Visit us today to get started with the best carbon fiber materials and expert advice!
Want to learn about other carbon fiber applications? Check out our carbon fiber truss structures and carbon fiber pool cue shaft pages!

