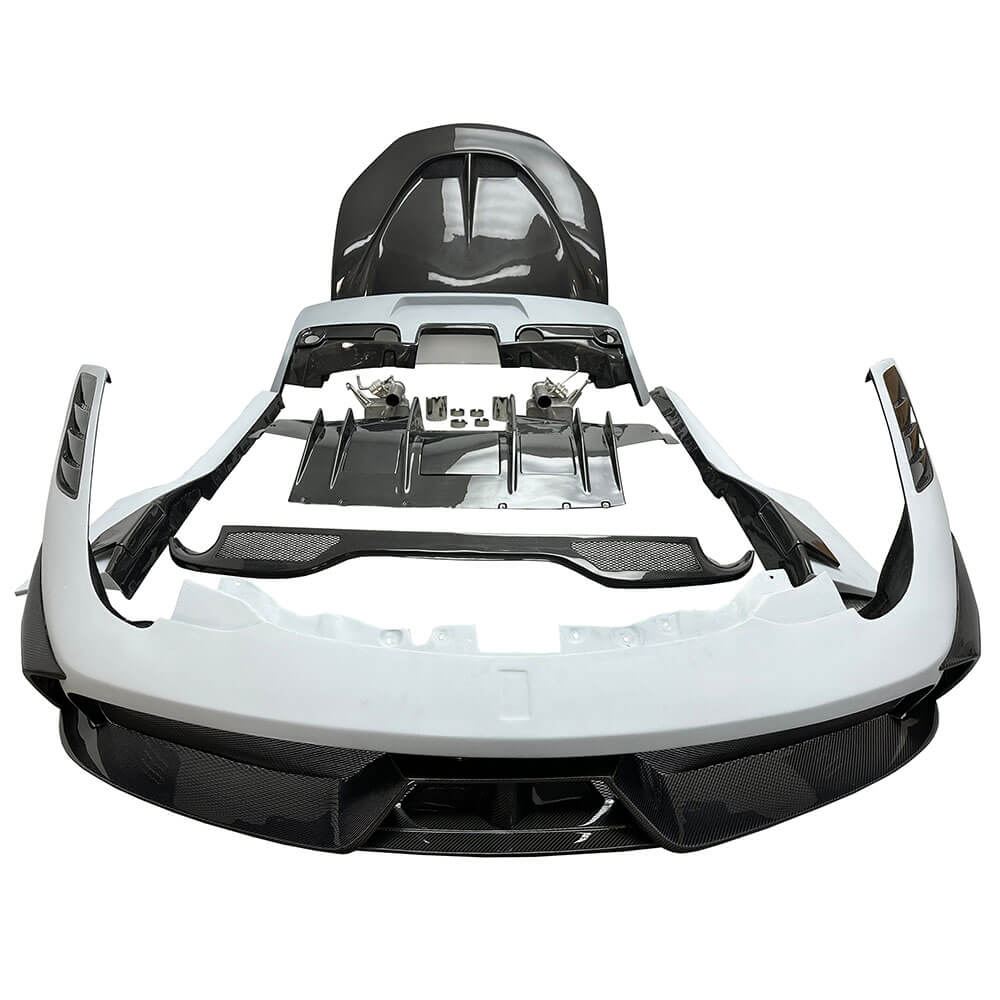
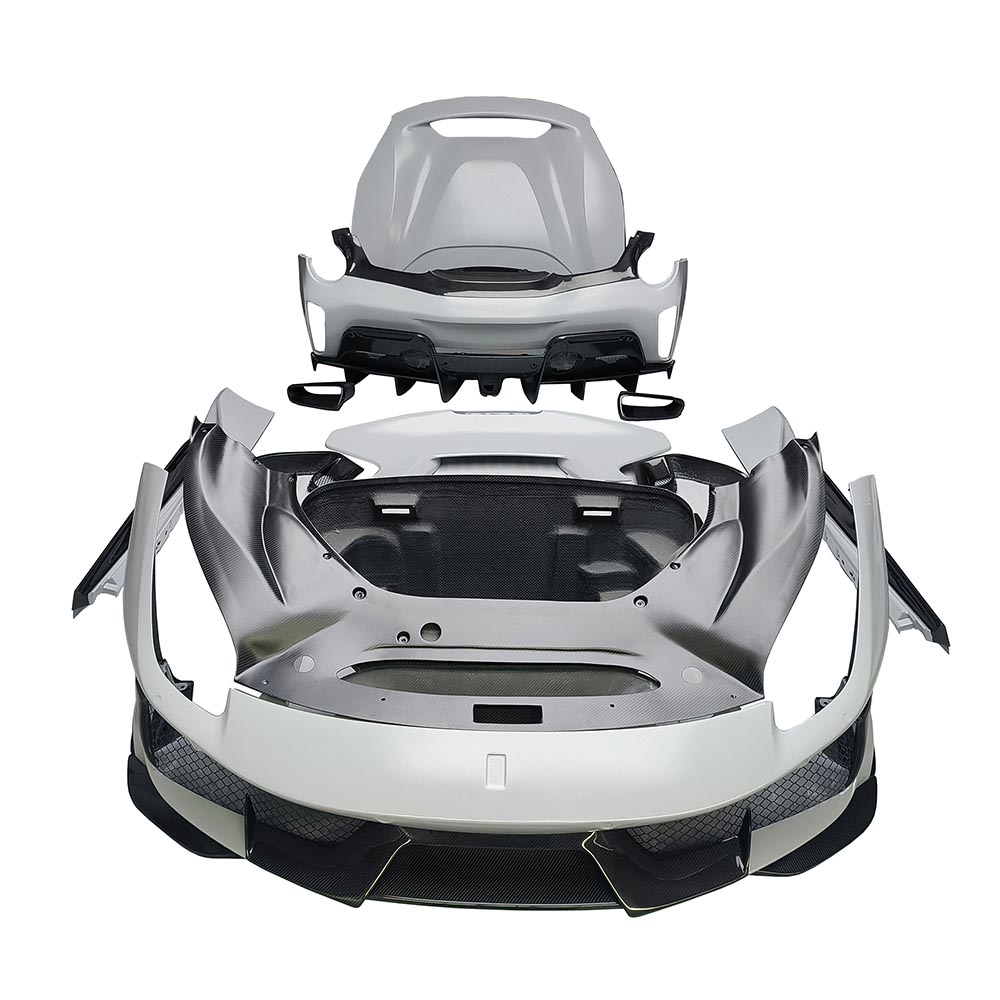
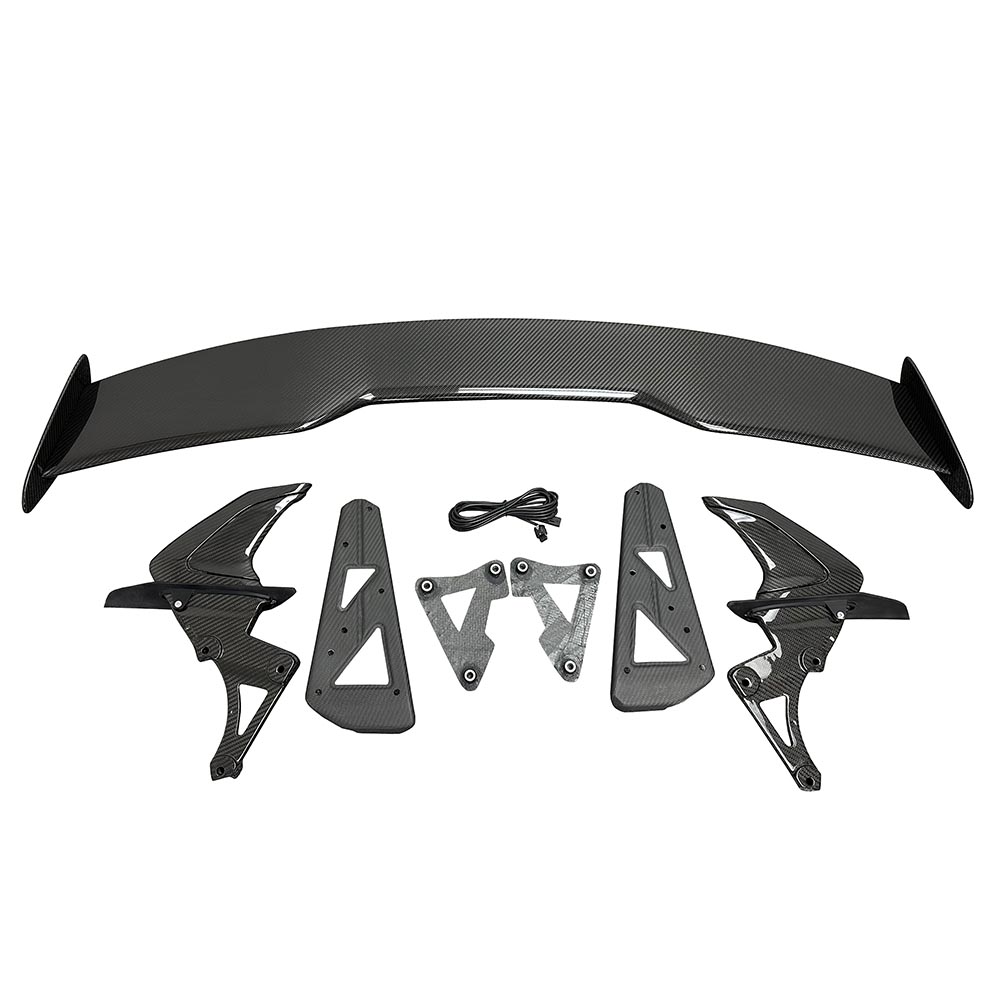
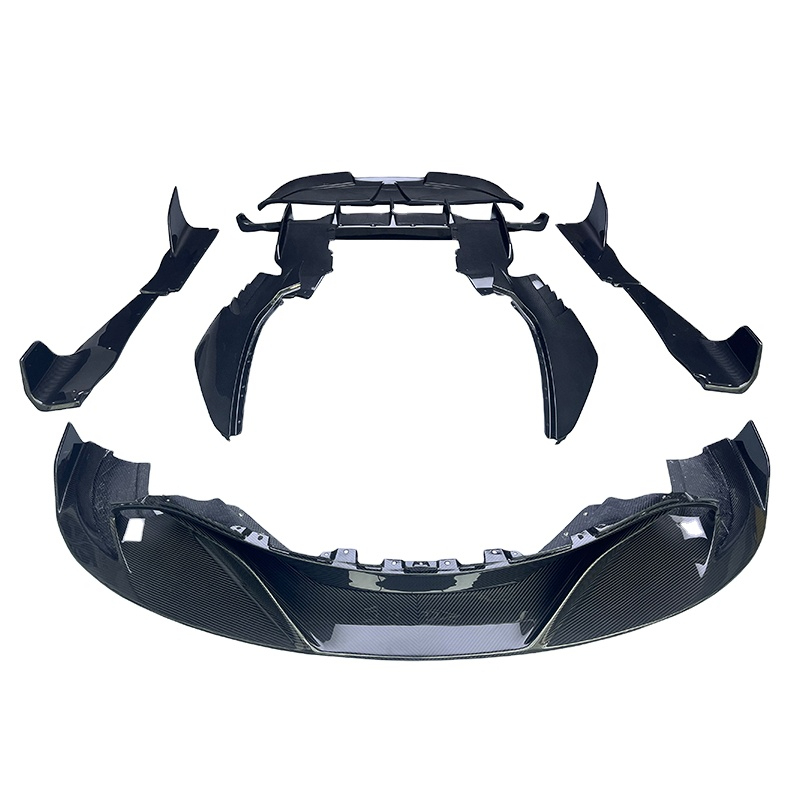

The Can-Am Maverick X3 is a popular platform for recreational, racing, and aftermarket UTV builds, with carbon fiber increasingly used for hoods, dashboards, consoles, and body panels. But “carbon fiber part” covers a wide range of products — from full autoclave-cured composite panels to plastic trim with a printed carbon pattern — and the difference matters a lot once you’re comparing quotes or planning a custom build.
This guide is written from a technical and production perspective rather than as a retail product listing. Based on our experience evaluating and manufacturing custom carbon fiber components for automotive, motorcycle, and powersports projects, this article covers what actually differs between carbon fiber part types, how fitment works across Can-Am X3 model years, what manufacturing process suits which part, and what’s involved in developing a custom Can-Am X3 carbon fiber part from scratch — whether you’re ordering from existing tooling or developing new tooling for repeat batch production.
Editorial note: This guide explains general material, fitment, and manufacturing considerations for Can-Am X3 carbon fiber parts. Exact compatibility, weight reduction, and temperature resistance depend on the individual part, vehicle configuration, and laminate design, and should be confirmed against your specific vehicle and project before ordering.
Buying an existing part? The sections on part types, real carbon vs. overlays, fitment, installation, and durability will matter most to you. Developing a custom or private-label part? You can skip ahead to the manufacturing, custom development, and cost sections.
Carbon fiber parts are usually chosen for one or more of the following reasons:
The actual benefit depends heavily on which part you’re talking about. Replacing a large plastic, fiberglass, or multi-piece body assembly with a properly designed carbon fiber component can produce a measurable weight saving. Adding a carbon fiber overlay to a small trim panel is mostly a cosmetic upgrade. Carbon fiber should be evaluated part by part, not treated as a blanket performance upgrade.
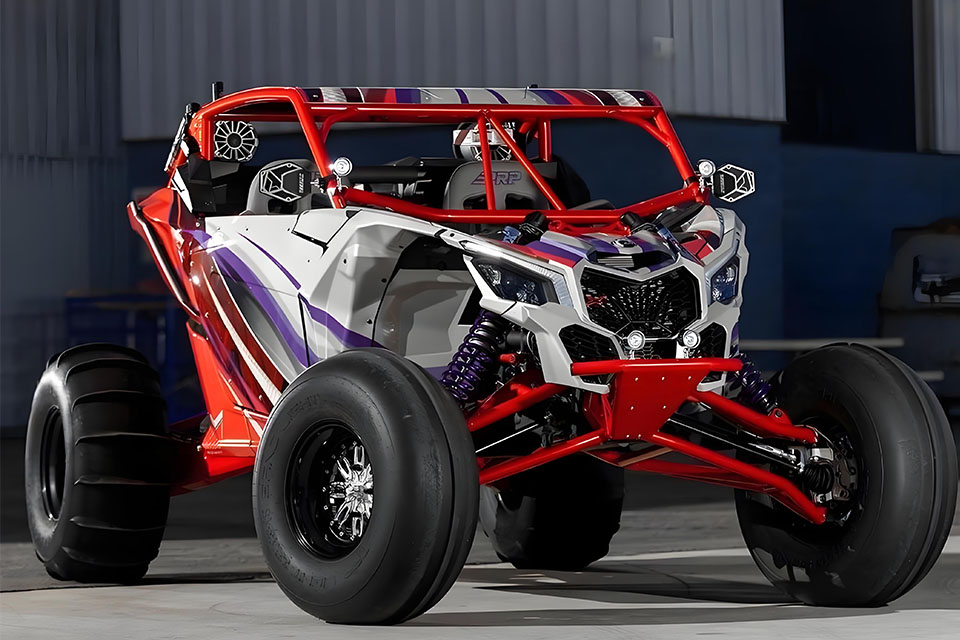
Carbon fiber can be used for many exterior and interior panels on the X3 platform. Availability, tooling, and fitment vary by part and by model year.
The hood and front fascia are among the most visible exterior components and are commonly considered for carbon fiber upgrades. A carbon hood can be built as a direct OEM-style replacement, a vented racing hood with additional airflow cutouts, or a cosmetic outer skin over the stock hood.
The front fascia is larger and structurally more complex — grille openings, mesh inserts, and the surrounding body gap all need to be controlled during tooling. Confirm whether mesh, brackets, and mounting hardware are included, and whether the part is designed around the OEM grille or an aftermarket one.
Dashboard-related parts include upper dash panels, under-dash panels, center race dashboards, gauge surrounds, glove box lids, and switch panels. This is one of the areas where fitment differs the most between model years, since instrument clusters and switch layouts have changed across X3 generations.
Some race dashboards are supplied as blank panels without gauge or switch cutouts, so the builder can finalize the layout. That gives flexibility, but it also means the panel needs proper CNC trimming or hand-cutting rather than a direct bolt-in installation.
A carbon fiber center console typically replaces the stock console or adds mounting space for switches, communication equipment, cup holders, or a display. Two-seat and four-seat (X3 MAX) layouts use different console designs, and shifter position, seat spacing, and wiring routing should be confirmed before ordering or developing a replacement.
This category includes upper and lower door panels, front and rear fender flares, side skirts, cage trim panels, roof panels, and rear body panels. These parts see continuous vibration, mud impact, and repeated loading around the fasteners, so the mounting structure on the backside of the panel matters as much as the visible surface finish.
Carbon fiber is also used for engine access covers, turbo hatch covers, exhaust surrounds, rear shrouds, and heat-shielding panels. Parts located near the engine, turbocharger, or exhaust require resin systems and layup structures rated for the expected working temperature — a standard cosmetic epoxy system is not automatically suitable for every high-heat location, and this is worth confirming with your supplier before production.
Race builds often need parts that don’t exist as standard products: blank electronics panels, custom air ducts, battery or ECU covers, panels built around a modified roll cage, or fully custom body sections. These are almost always developed from CAD data, 3D scan data, or an original sample rather than pulled from a catalog, and typically go through prototype confirmation before any batch production run.
“Carbon fiber part” gets used loosely in the aftermarket, so it’s worth being specific about construction type before comparing prices.
Real carbon fiber composite — carbon fiber reinforcement combined with a resin system, cured under vacuum or heat and pressure. Depending on the design, the part may be solid laminate or use a lightweight core with local reinforcement at load points.
Carbon fiber skin over another material — a plastic or fiberglass base part with a real carbon fiber layer bonded to the visible surface. This gives an authentic carbon appearance but keeps most of the base part’s weight and structure.
Carbon fiber-look plastic — a printed, hydro-dipped, or molded pattern with no structural carbon reinforcement at all. It can look convincing in photos but behaves like standard plastic.
Ask any supplier for clear photos of the backside, cut edges, mounting areas, and inserts — not just the glossy front surface. The backside almost always tells you more about actual construction than the finished face does.
A full replacement part substitutes for the original plastic, fiberglass, or metal component. This is harder to manufacture correctly because the mold needs to reproduce every mounting flange, clip location, and bracket point on the original part — but it usually delivers a real weight reduction, a cleaner install, and more room to redesign the backside structure for reinforcement or wiring.
An overlay installs over an existing component, or a skinned part keeps another material as the substrate under the visible carbon layer. Tooling and development cost are usually lower, which makes this option more practical for small production runs or purely cosmetic upgrades. The tradeoff is added thickness, limited weight savings, and the possibility of fitment conflicts with adjacent panels.
Neither approach is universally better — the right choice depends on the part, the budget, the target quantity, and whether the goal is weight reduction or appearance.
“Dry carbon” and “wet carbon” get used inconsistently in the aftermarket, so it helps to understand what each process actually involves.
Prepreg carbon fiber comes pre-impregnated with a controlled resin content, is laid into a mold, vacuum-bagged, and cured in an autoclave under specific temperature and pressure. This generally gives tighter control over resin content, more consistent weight, and better fiber consolidation — which is why it’s the common choice for visible, high-end panels like hoods and dashboards. It’s worth noting that weave alignment and final surface quality still depend on ply design, ply segmentation, seam placement, layup execution, mold quality, and finishing — the process name alone doesn’t guarantee a flawless surface. Prepreg autoclave production also carries higher tooling and processing cost than wet layup.
In wet layup, resin is applied to the dry carbon fabric during layup. In vacuum infusion, resin is drawn through dry reinforcement under vacuum after the fabric is placed in the mold. These processes can be more cost-effective than autoclave production for suitable parts, particularly larger panels and projects where tooling and unit-cost targets are a priority. Quality here depends heavily on tooling precision, vacuum control, and operator experience. Process execution matters as much as the process name; a well-controlled infused laminate may be more suitable and consistent than a prepreg part made with inadequate tooling or poorly controlled processing.
Forged carbon uses chopped carbon fiber strands compression-molded into shape, producing a distinctive marbled or speckled pattern rather than a woven texture. It’s commonly considered for compact, complex-shaped components — switch surrounds, small covers, mirror covers, handles, brackets, and decorative trim — where a traditional woven layup would be difficult to tool or lay up cleanly. It can be efficient for compact parts with complex three-dimensional geometry when repeat production justifies the matched compression tooling and pressing equipment sized to the part; for a single prototype, very small quantity, or a large panel, that tooling investment can outweigh the cost of hand layup.
Prepreg autoclave production is typically preferred for lightweight, high-visibility panels where laminate consistency and surface finish matter most — hoods, dashboards, race panels. Wet layup or vacuum infusion may be suitable for certain larger exterior panels when cost is a major consideration, provided the required surface quality, weight, and backside structure can still be achieved. Forged carbon is worth considering for complex-shaped trim pieces where a woven finish isn’t the priority. The right process should be selected based on part size, shape complexity, target weight, surface requirements, working temperature, and expected production quantity — not a single default answer.
| Construction | Typical use | Weight-saving potential | Common tooling approach | Best suited for |
|---|---|---|---|---|
| Prepreg autoclave (dry carbon) | Premium visible, lightweight panels | High | Composite, epoxy, or metal tooling rated for cure temperature and pressure | Hoods, dashboards, race panels |
| Wet layup | Larger, cost-sensitive panels | Low–medium | Composite, epoxy, or metal tooling depending on finish and quantity | Fascias, roof panels, body panels |
| Vacuum infusion | Larger, cost-sensitive panels with tighter resin control | Medium–high | Composite, epoxy, or metal tooling depending on finish and quantity | Fascias, roof panels, body panels |
| Carbon fiber overlay / skin | Cosmetic upgrade over existing part | Low | Original part used as reference, or a dedicated cosmetic mold | Interior trim, small runs |
| Forged / chopped carbon | Complex, compact shapes | Application-dependent | Matched compression mold sized to the part | Repeat production of shaped trim |
| Carbon fiber-look plastic | Cosmetic only | No composite advantage | Injection, thermoforming, or decorative finishing tooling | Low-cost styling only |
Relative comparison only — actual tooling cost and weight-saving results depend on part size, cure temperature, mold material, dimensional tolerance, and production quantity.
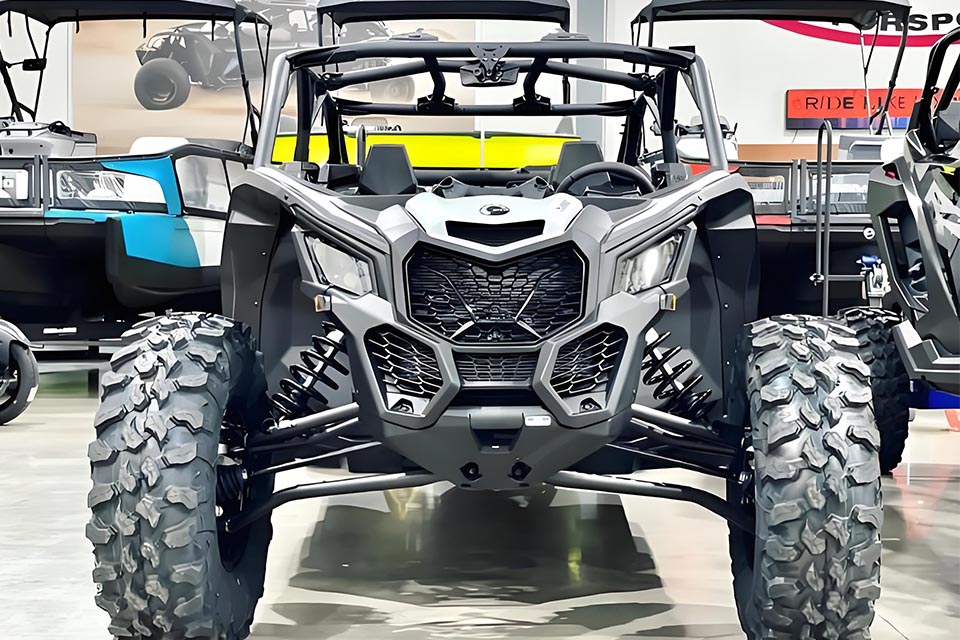
There’s no universal weight-saving percentage that applies to every Can-Am X3 carbon fiber part. The result depends on the weight of the original component, whether the carbon part is a full replacement or an overlay, laminate thickness, resin content, core material, local reinforcement, metal inserts, and clear coat.
A properly designed full-carbon replacement for a relatively heavy plastic, fiberglass, or multi-piece body assembly can produce a meaningful weight saving. A carbon skin bonded over an existing plastic part may end up the same weight as the original, or slightly heavier. Reliable comparisons should be based on the actual measured weight of the original and finished parts, not a generic marketing figure.
Fitment is one of the most common concerns when buying or developing Can-Am X3 carbon fiber parts, and accurate fitment depends on the vehicle version, year, mounting points, and original part structure.
Dashboard layouts, gauge clusters, and mounting points can vary between model years and trim levels, so parts from an earlier X3 should not automatically be assumed to fit a later vehicle. Provide the exact model year, trim (Turbo, XRS, X RC, etc.), and, where possible, the OEM part number or a photo of the mounting area before requesting a quote.
The X3 MAX uses a longer four-seat chassis. Rear consoles, cage trims, doors, roof panels, and side panels are typically different from the two-seat X3 and should not be assumed interchangeable.
Roof panels, cage trim, and some interior components interface directly with the roll cage. Confirm whether a part is designed for the factory cage, a specific aftermarket cage, or a fully custom race cage — modified cage geometry changes clearances and trim-panel shapes.
Ask whether the part reuses original hardware, includes new brackets or threaded inserts, requires drilling or trimming, and whether gauge, switch, or speaker cutouts are pre-cut or left blank. “Direct replacement” doesn’t always mean hardware-free installation.
Even a well-designed replacement panel can need minor adjustment due to production tolerances, prior accident repair, modified cages, or hand-finished composite edges. Large panels should be test-fitted before final tightening.
Carbon laminate behaves very differently from injection-molded plastic. Improper drilling can cause delamination, chipped clear coat, frayed fiber edges, or cracking around fasteners. Use the correct bit type and speed, back up the panel during cutting, and seal any newly exposed edge. Professional installation is worth the cost on expensive or highly visible panels.
Carbon fiber is electrically conductive and can shield or weaken RF signals. If a proximity key receiver, GPS module, or antenna sits behind a carbon panel, test it before final assembly — in some layouts, the receiver needs to be relocated behind a non-conductive panel instead.
Composite surfaces can degrade under sustained UV exposure if not properly protected. Exterior panels should use a UV-resistant clear coat — gloss or matte — and that coating still needs periodic care, since it can be damaged by abrasion, harsh chemicals, or long-term outdoor storage.
UTV panels see constant vibration and occasional impact. Fastener areas often need additional plies, load-spreading washers, bonded inserts, or isolating grommets rather than simply making the whole panel thicker — reinforcement should go where the load is actually transferred.
Panels near the exhaust, turbo, or engine bay need a resin system and layup rated for the expected working temperature (including resin Tg where relevant), plus adequate airflow or insulation. Heat shielding may be needed even with a higher-temperature resin system.
Mud, water, and cleaning chemicals reach cut edges, drilled holes, and bonded inserts over time. Good finishing means clean trimmed edges, sealed laminate where required, protected metal inserts, and drainage where water can otherwise collect.
A typical custom Can-Am X3 carbon fiber project runs through these stages:
For visible parts, weave alignment and clear coat consistency drive the final quality. For structural or high-load parts, layup schedule, fiber direction, tolerance, and insert bonding matter more than surface appearance.
Most fitment or durability complaints trace back to a handful of recurring issues. Knowing what to look for helps when comparing parts or reviewing a first sample.
Surface pinholes can result from trapped air, insufficient surface resin, fabric bridging over contours, vacuum leakage, mold-surface condition, or volatile release during curing. Filling pinholes only during clear coating may improve the initial appearance, but it does not correct porosity or laminate-quality problems underneath — proper vacuum, layup technique, and mold surface preparation should address the root cause before finishing.
Trimmed edges that don’t sit flush, or panel gaps that vary around a part, can result from inaccurate reference data (an imprecise original sample or CAD conversion error), unstable or under-supported tooling, laminate spring-back after demolding, incorrect trimming references, or variation on the vehicle side itself. Consistent gaps depend on accurate tooling and reference data as much as on trimming technique.
On tightly curved or compound-curve areas, some amount of fiber distortion is a normal part of forming woven fabric over a 3D shape — no supplier can keep a perfectly uniform weave everywhere. What matters is whether panel-splitting and seam placement were planned in advance to keep visible distortion out of prominent, sight-line areas.
A panel that looks good but cracks around its fasteners usually wasn’t reinforced where load is actually transferred. Mounting points typically need additional plies, bonded metal inserts, or load-spreading backing — not just a thicker overall laminate.
Brackets and inserts that separate from the laminate over time are often a surface-preparation or adhesive-selection issue rather than a resin problem. Proper surface treatment of the bonding area, the right adhesive system, and mechanical backup (rivets, bolts, or a bonded flange) all matter more than adhesive quantity alone.
Custom carbon fiber pricing depends on several variables rather than a single per-part figure. The main factors are:
We don’t publish fixed prices for custom Can-Am X3 parts because these variables affect cost too much to generalize — a quote requires seeing the part or reference file first.
Standard aftermarket products don’t cover every build. Custom development is common for race vehicles, modified cages, private-label UTV brands, new body designs, and parts with integrated lighting, ducting, or cooling changes.
Custom development for the X3 platform generally falls into OEM production (parts manufactured to customer-supplied drawings, samples, specifications, or approved designs), ODM development (where the manufacturer contributes to product design, engineering, material selection, or manufacturability based on the customer’s commercial requirements), or private-label production (a distributor’s own branded product line). All three fall under what we’d broadly call custom carbon fiber manufacturing, and follow the same underlying process — file or sample review, tooling, sample approval, then batch production — the difference is mainly in who defines the design and who the finished part is branded for.
An OEM plastic or fiberglass part can be used directly as the tooling reference. The manufacturer needs to determine whether the shape can be copied as-is or needs adjustment for mold release, layup access, wall thickness, or bonded brackets — the original sample often needs to stay at the factory through first-sample production.
STEP/STP files are the most reliable input for engineering evaluation. 3D scan data works too, but scan surfaces usually need reconstruction and cleanup before they’re tooling-ready. Useful information to send along with any file includes critical dimensions, expected quantity, target surface finish, preferred process (dry carbon, wet carbon, or forged), and working-temperature requirements if the part sits near the engine or exhaust.
For a new custom carbon fiber part, tooling normally needs to exist before the first actual carbon fiber sample can be produced — carbon layup requires a mold. In some projects, a CNC-machined or 3D-printed mockup can validate the shape and fitment beforehand, but that’s a form-check step, not a finished carbon sample. Once the mold is built, the first carbon fiber part is produced, test-fitted, and reviewed; hole positions, trimming lines, or bonding details may still be adjusted on the tool at this stage before it’s approved for production. After that approval, the same tooling supports repeat and batch orders, whether for a single build, a small run for a race team, or an ongoing private-label program for a UTV parts distributor.
Composite or epoxy tooling is usually appropriate for prototypes and lower-volume runs. Aluminum tooling offers better durability, thermal stability, and dimensional consistency for higher volumes. Steel compression tooling is typically reserved for much larger production quantities. Tool selection also depends on curing temperature, dimensional tolerance, part size, surface finish requirements, and expected production cycle — not just the number of parts required. The lowest-cost tool up front isn’t always the lowest-cost option across the full life of a production program.
Before ordering stock parts or starting a custom project, a few direct questions — and a look at who’s actually behind the production — will tell you more than any product photo:
That last point matters more than it looks. A manufacturer that builds, maintains, and runs its own tooling in-house can usually answer engineering questions directly and implement approved mold changes without a third party in the loop — which is a meaningful difference for anyone planning a repeat order or a private-label program rather than a one-off purchase. Tooling ownership should not be assumed just because a tooling charge has been paid — practices vary, and some quotations cover a tooling contribution rather than a full buyout. Ownership, storage, maintenance responsibility, exclusivity, permitted use, and disposal of the tooling should be clearly stated in the quotation or manufacturing agreement before the project starts.
They can be, particularly when a properly designed full carbon replacement swaps out a heavier fiberglass or plastic assembly. The actual result depends on the original part’s weight, the laminate schedule, resin content, and whether the product is a full replacement or an overlay — there’s no fixed percentage that applies across all parts.
Not necessarily. Prepreg autoclave production generally gives better laminate control and a more consistent finish, which is why it’s common on visible panels. But a well-executed wet carbon or infusion part can be a reasonable choice for larger exterior panels where cost matters more than shaving the last few grams. The right process depends on the part and the budget, not a blanket rule.
Woven carbon uses continuous fiber tows in patterns like 3K twill or plain weave, producing a directional, uniform weave. Forged carbon compression-molds chopped fiber strands, producing a random marbled pattern and suiting complex curved shapes that would be difficult to tool with a traditional weave.
No. Dashboard, gauge, console, and body panel designs vary across production years and between the standard X3 and the four-seat X3 MAX. Always confirm your exact model year, trim, and cage configuration before ordering or starting custom development.
In most cases, yes — the original part can be used as a direct tooling reference or 3D-scanned. Clips, undercuts, and flexible mounting tabs on the original often need to be redesigned for a rigid composite structure, which is something to plan for rather than assume works automatically.
Yes. Carbon fiber is electrically conductive and can shield or weaken nearby RF signals. Any receiver, GPS module, or antenna mounted behind a carbon panel should be tested before final installation, and may need to be relocated behind a non-conductive section.
Cost is mainly affected by tooling status, part size and geometry, manufacturing process, surface finish, backside reinforcement and inserts, test-fitting requirements, and order quantity. New custom parts can’t be priced accurately until we review a STEP file, 3D scan, or physical sample.
A STEP/STP file, 3D scan data, or an original sample is the fastest path to an accurate quote and tooling plan. Photos with clear dimensions can work for simpler trim parts, but anything with critical mounting points benefits from a scan or a physical sample.
Yes — this is a common setup for distributors and aftermarket brands: custom mold development followed by batch production under your own branding, with sample approval before the production run is confirmed. Branding, packaging, tooling exclusivity, and minimum order requirements are confirmed separately for each project.
Lead time depends on whether tooling already exists, part complexity, and the manufacturing process selected. We can give a specific timeline once we’ve reviewed the part and confirmed the process — it’s not something we quote as a fixed number in the abstract.
Can-Am Maverick X3 carbon fiber parts can genuinely improve appearance, reduce weight on selected panels, and open up custom build options that stock plastic can’t match — but the value depends entirely on knowing what you’re buying. Confirm whether a part is full carbon or an overlay, which process built it, exactly which model years and configurations it fits, and what installation actually involves.
For custom development, sending accurate STEP data, a 3D scan, or an original sample — along with your target quantity, finish, and working conditions — lets a manufacturer recommend the right material and process instead of treating every carbon fiber part the same way.
For a technical and tooling evaluation, provide the vehicle year and model, clear photos of the original component, STEP/STP data or a physical sample, expected quantity, preferred surface finish, and any critical fitment or working-temperature requirements. We will review the project and confirm feasibility, the recommended manufacturing process, and the appropriate tooling plan before quotation.